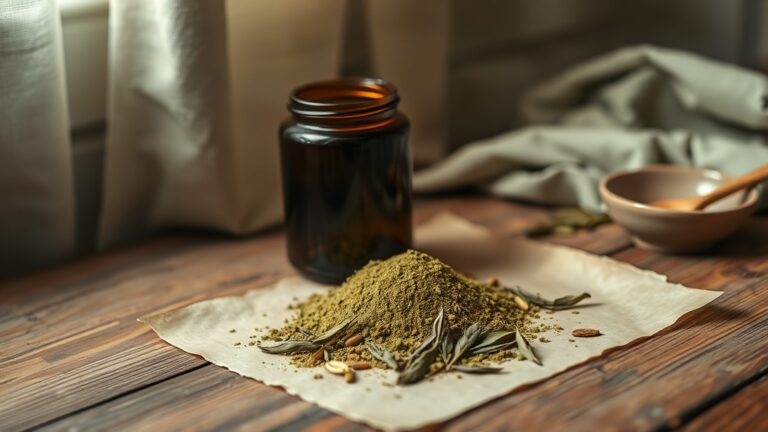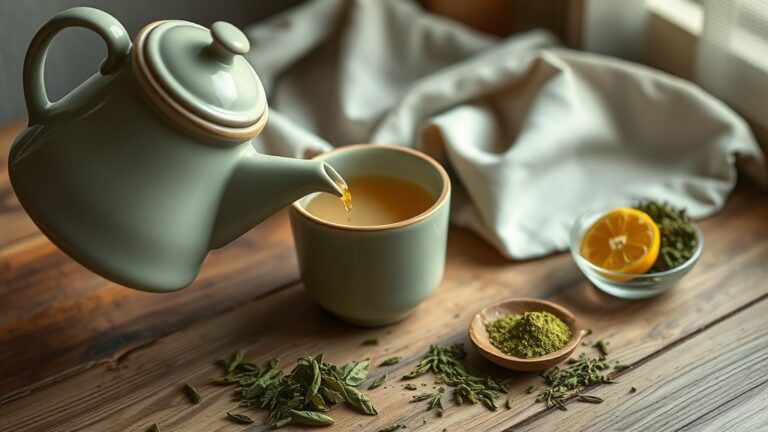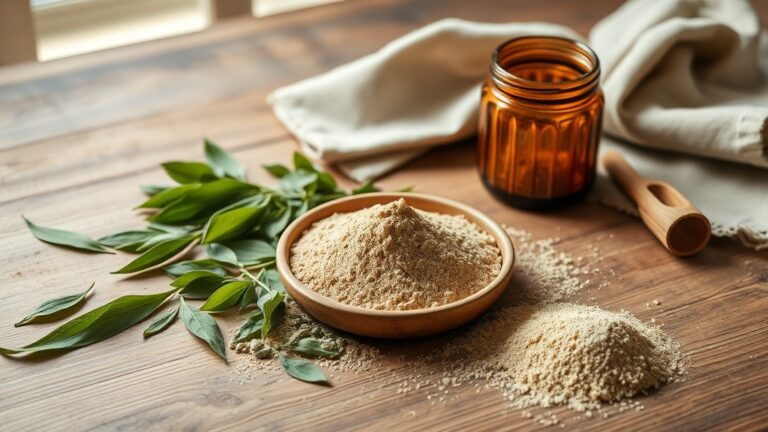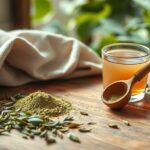
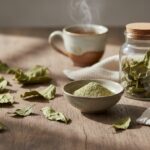

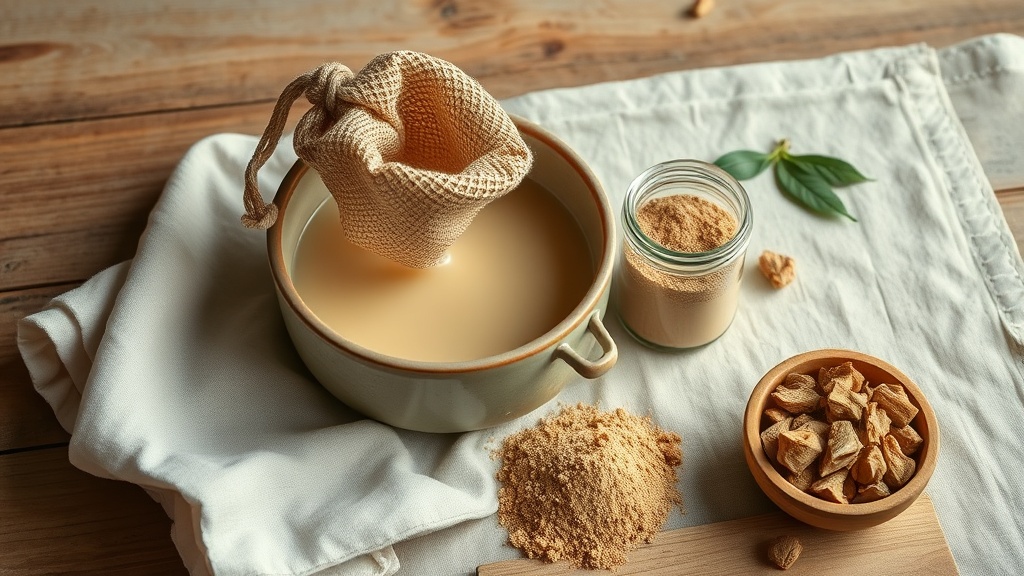
Most people’s first cup of kava tastes like muddy dishwater — and that’s usually because they made it wrong. Boiling the water, skipping the straining step, or giving up after one bitter sip are the classic mistakes. Kava preparation has a long history behind it, evolving from chewing root pieces with coconut milk to the grinding and straining methods people use today. Vanuatu is widely believed to be where kava originated, and from there it traveled across the Pacific with early voyagers.
Once you understand why certain steps matter, the whole process gets a lot less intimidating.
The Ratio and Temperature That Make or Break Your Brew
No matter which method you choose, the basic formula stays the same: 2 to 4 teaspoons of kava powder for every 8 to 12 ounces of water.
Water temperature matters more than most people assume. Hot tap water — not boiling — pulls out noticeably more kavalactones than cold water does. Boiling water actually works against you, breaking down the starches in the root and leaving you with a thick, gluey sludge instead of a drinkable tea.
The right temperature is basically as hot as your faucet gets, no stove required.
Method 1: Traditional Steep and Knead
This is the closest you’ll get to how kava has been prepared in the Pacific Islands for generations, just adapted for a home kitchen.
What you need: a fine-mesh strainer bag or cheesecloth, a bowl, and hot tap water.
How to do it: Put 2 to 4 teaspoons of kava powder into the strainer bag and place it in a bowl with 8 to 12 ounces of hot water. Let it steep for 10 to 15 minutes, then knead the bag by hand for 5 to 10 minutes. Squeeze out as much liquid as you can and toss the leftover pulp.
The kneading is the part everyone rushes or skips — and it’s exactly what pulls the kavalactones out of the fiber. If your tea tastes weak, that’s usually why.
Method 2: Shaker Bottle Method
If you’ve got a protein shaker bottle sitting in a cupboard, it doubles nicely as a kava-making tool.
What you need: a shaker bottle with a fine-mesh strainer insert and hot tap water.
How to do it: Load the strainer insert with kava powder, fill the bottle with hot water, and shake hard for 2 to 3 minutes. Let it sit for 5 minutes, then give it one more minute of shaking. Pull out the strainer and drink.
The vigorous shaking does mechanically what kneading does by hand, which makes this a solid option when you want consistency without getting your hands sticky.
Method 3: Blender Method
This is the quickest route to a strong cup, and many people find it produces the most potent results.
What you need: a standard blender, a fine-mesh strainer, and hot tap water.
How to do it: Combine 2 to 4 tablespoons of kava powder with 8 to 12 ounces of hot water in the blender. Blend on high for about 4 minutes, then strain out the pulp.
The blades break the plant material down far more completely than hand-kneading ever could, so you’re extracting more in a fraction of the time. Some people save this method for evenings when they want a stronger, more relaxing effect.
Method 4: No-Knead Steep
For anyone who wants a decent cup without standing over a bowl kneading a bag.
What you need: a large mason jar, a fine-mesh strainer, and hot tap water.
How to do it: Mix the kava powder and hot water in the jar, seal it, and let it sit for 30 to 45 minutes, giving it a shake every 10 minutes or so. Strain before drinking.
The longer steep time makes up for skipping the manual agitation. It’s a good match for anyone who wants to set it aside and get on with something else.
Method 5: French Press for Bigger Batches
If you’re making kava for a few people, or just want extra on hand, this is the method to reach for.
What you need: a French press, hot tap water, and a second fine-mesh strainer.
How to do it: Add 6 to 8 teaspoons of kava powder to the French press along with 24 to 32 ounces of hot water. Stir it well, then let it steep for 20 minutes, stirring every 5 minutes or so. Press the plunger down slowly, then pour the tea through a fine strainer for a cleaner cup.
The plunger applies gentle, even pressure, and the repeated stirring keeps the extraction consistent across the whole batch. Prepared kava keeps in the fridge for up to three days without losing much strength.
Dealing With the Taste
Even a well-made cup of kava has an earthy, bitter edge — it was never designed to taste good, just to work. In Pacific Island cultures, kava ceremonies are less about flavor and more about bringing people together; the drink is woven into community life there.
That said, a few modern twists can make it much easier to drink without dulling its effects:
- Kava Colada: Mix your prepared kava with equal parts coconut milk and pineapple juice, and a bit of honey if you like it sweet. The tropical flavors balance out the earthiness.
- Kava Cocoa: Blend prepared kava with unsweetened cocoa powder and a sweetener of your choice. The chocolate does a good job of covering the bitterness.
- Kava Smoothie: Combine prepared kava with frozen berries, banana, and yogurt for a creamy, fruity drink that barely tastes like kava at all.
None of these change what the kava does — they just make it easier to get down.
Which Method Should You Use?
It really comes down to how much effort you want to put in and what you’re using the kava for.
Go traditional if you want the hands-on, cultural connection and don’t mind a little extra work. Use the shaker bottle for something portable and repeatable. Reach for the blender when you want the strongest possible cup in the least time. Try the no-knead steep when you’d rather walk away and let it sit. And pull out the French press when you’re serving more than one person.
Every method works as long as you stick to the right ratio and water temperature — what changes is convenience, strength, and how much you want to be involved in the process.
Pick one method to start, then branch out once you get a feel for how kava affects you. Plenty of regular users switch between methods depending on the day. If you’re just getting started, it’s worth looking into a broader beginner’s guide to kava, and if you’re curious about other botanicals, something like blue lotus might round out your routine. Whatever method you use, the quality of your kava powder matters — wild-harvested, lab-tested kava will give you more reliable results no matter how you prepare it.
Quick FAQs
How much kava powder should I use?
Start with 2 to 3 teaspoons per 8 to 12 ounces of water, then adjust to taste.
Can I use boiling water?
No — stick with hot tap water. Boiling water breaks down the starches and turns your tea into sludge.
How long does prepared kava keep?
It’s best fresh, but it’ll hold in the fridge for up to three days.
Why does my kava taste so bitter?
That’s just kava. Mixing it with coconut milk, pineapple juice, or cocoa helps mask the flavor.
Which method makes the strongest tea?
The blender method tends to extract the most, thanks to the thorough mechanical blending.
Can I reuse the kava pulp?
Not really. Once the kavalactones are extracted, there’s little left in the leftover powder — just discard it.